Of Bottom Planking and Chines
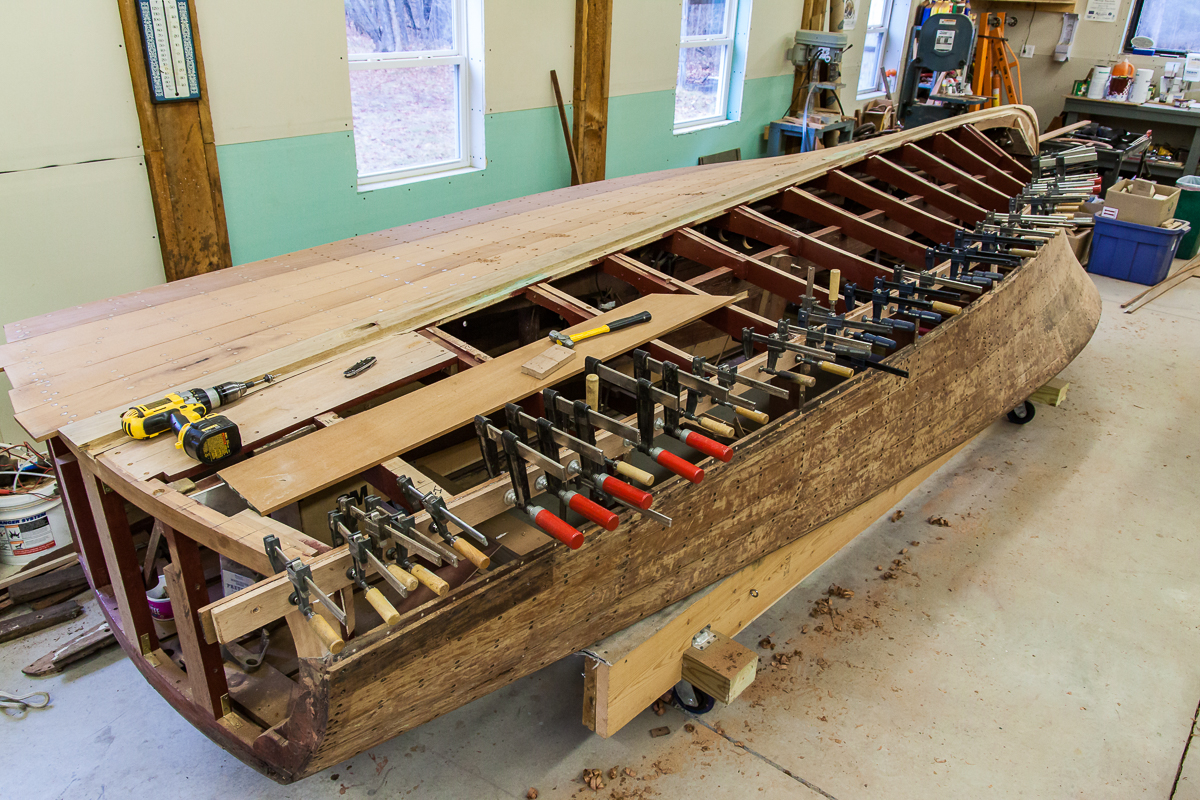
A nice little 1948 Chris Craft 17′ Deluxe Runabout is in the shop for a new bottom. The owner started the project himself, but decided to have someone else do the grunt work. The boat arrived on a dolly, upside down, with the bottom planks removed, marked and documented. Should be an easy job.
Should be…but upon inspection, the frames were in poor condition, so we replaced all bottom framework. The owner had fabricated a keel and did a pretty nice job for a first time marine carpenter. There was one area on the starboard side that was slightly out of shape, the original garboard plank would not fit nicely to it. Rather than gluing material to the oak, which doesn’t take epoxy well, we added to the new garboard plank allowing for a nice fit.
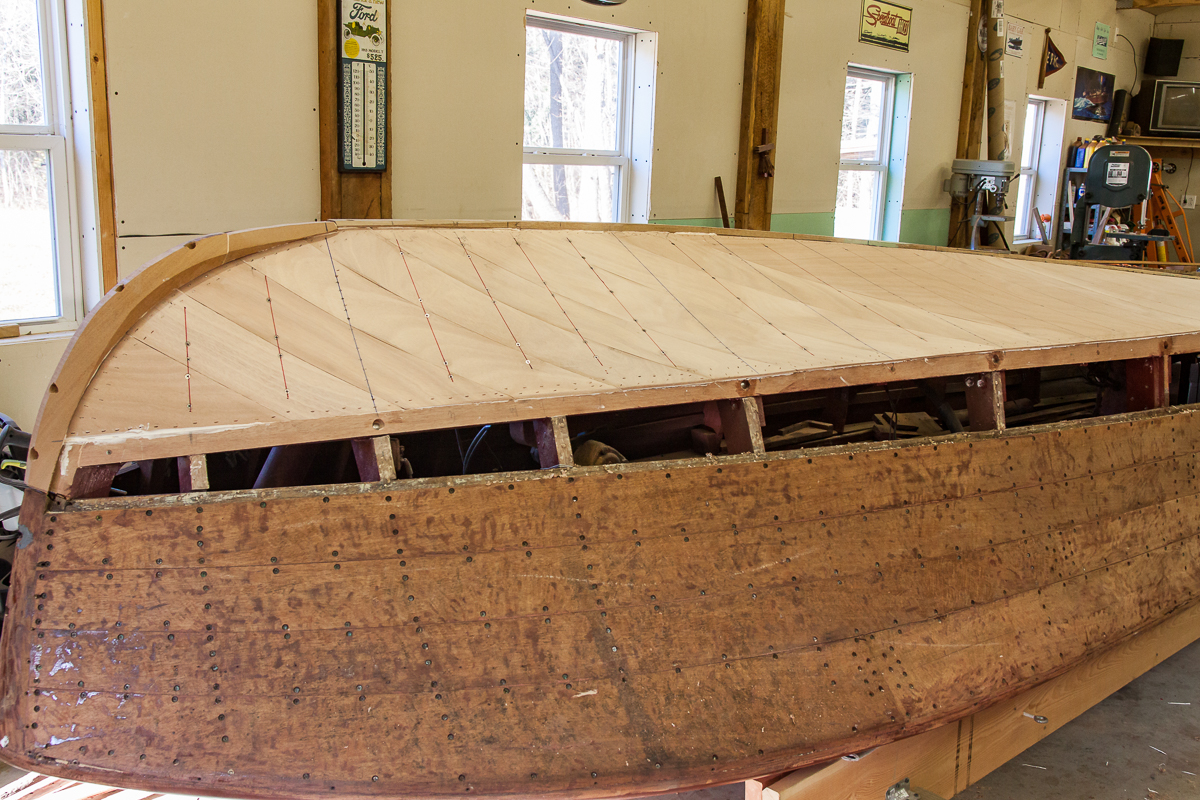
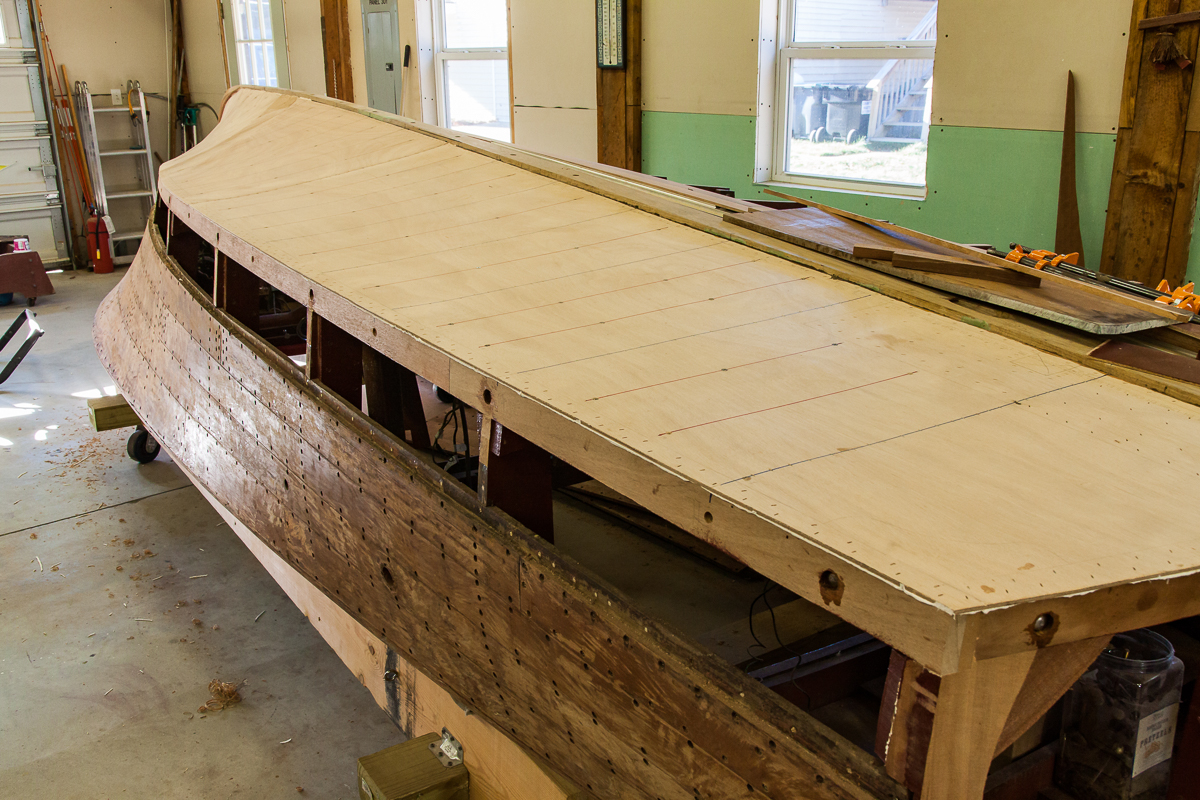
The new inner bottom is 4mm marine plywood that bears the BS-1088 stamp. Full length sheet was used in the aft areas, running almost eight feet forward. The second piece is trapezoid shaped, about 50″ on the long side. The remaining inner bottom was laid on a 45* diagonal. The inner bottom and planking are bedded in 3M 5200. Inner bottom was prepainted and intermediaries were pre installed.
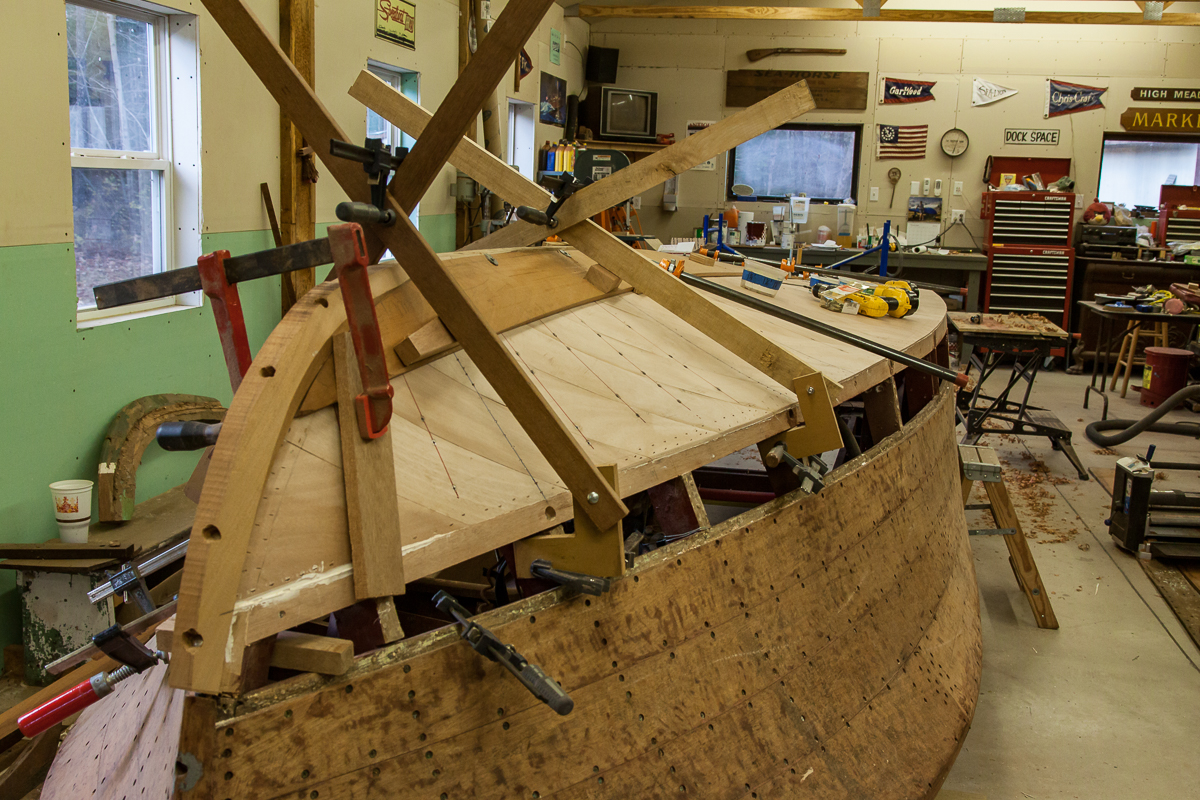
If you don’t have helpers in the shop, it is difficult to fit the first plank yourself. On this boat, it is a full length single plank. Creative clamping comes into play. We use an “L” shaped piece of 3/4 plywood with a long arm loosely bolted to it. The “L” is clamped to a side frame. Using small blocks to distribute the load on the plank, the arm can be pulled tight and clamped to a matching arm on the other side. This holds the plank in position for fitting and final installation. The method works for the first few planks up forward. No steam bending was required.
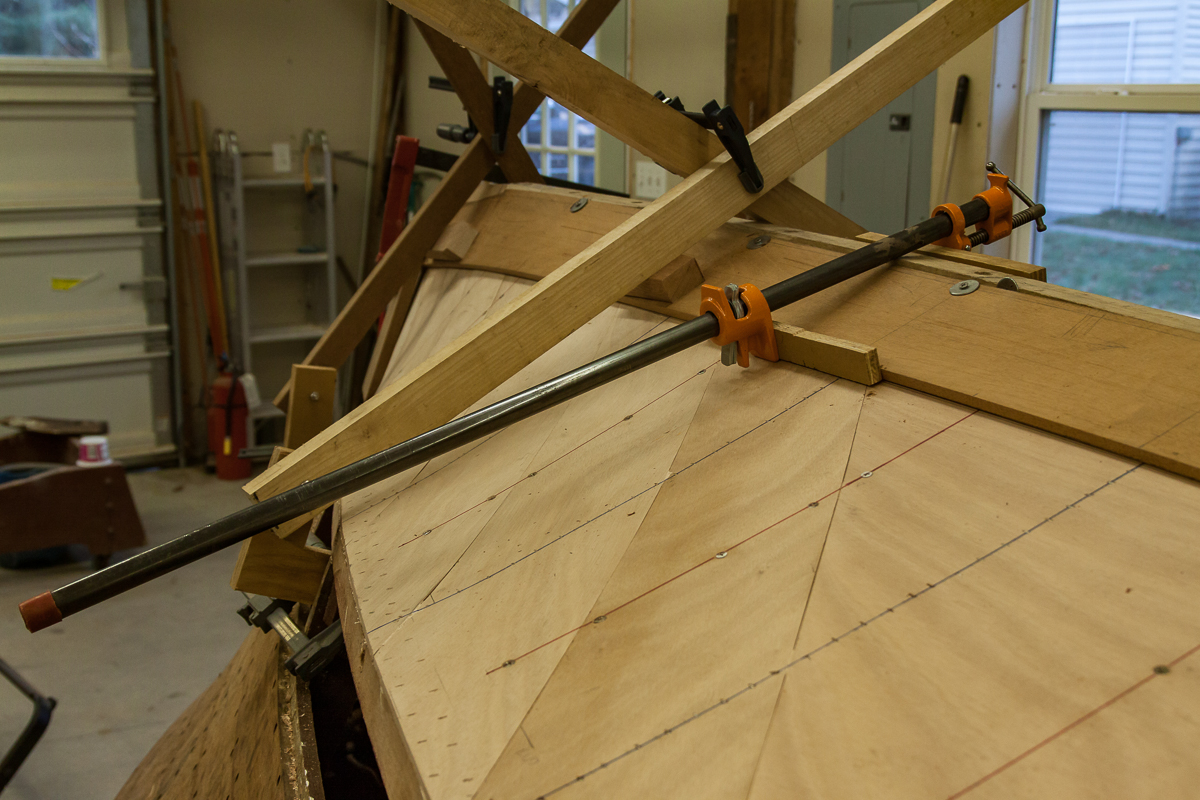
Pipe clamps were used to hold the plank tight to the keel, or previous plank, depending on which plank you are putting on. We like to use fender washer spacers between planks, and the first plank and keel. The spacer prevents a super tight fit of plank to plank and lets the 5200 ooze through sealing the seam.
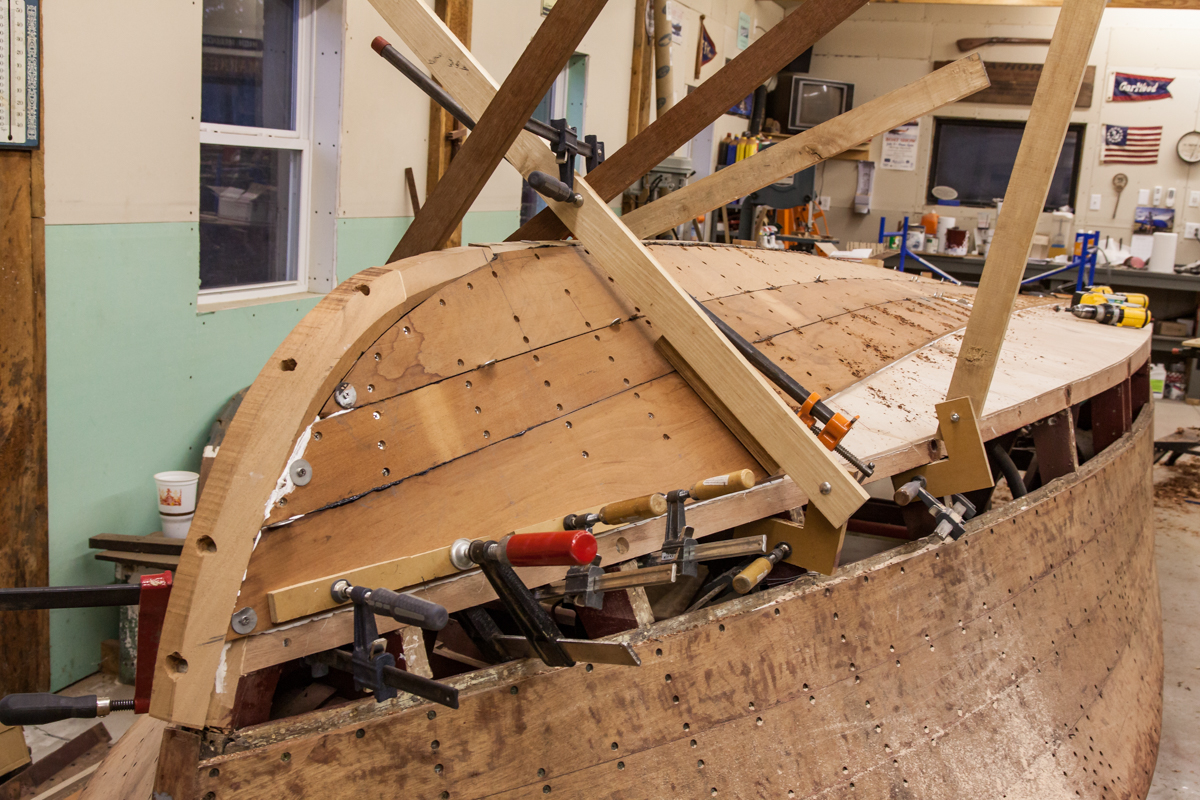
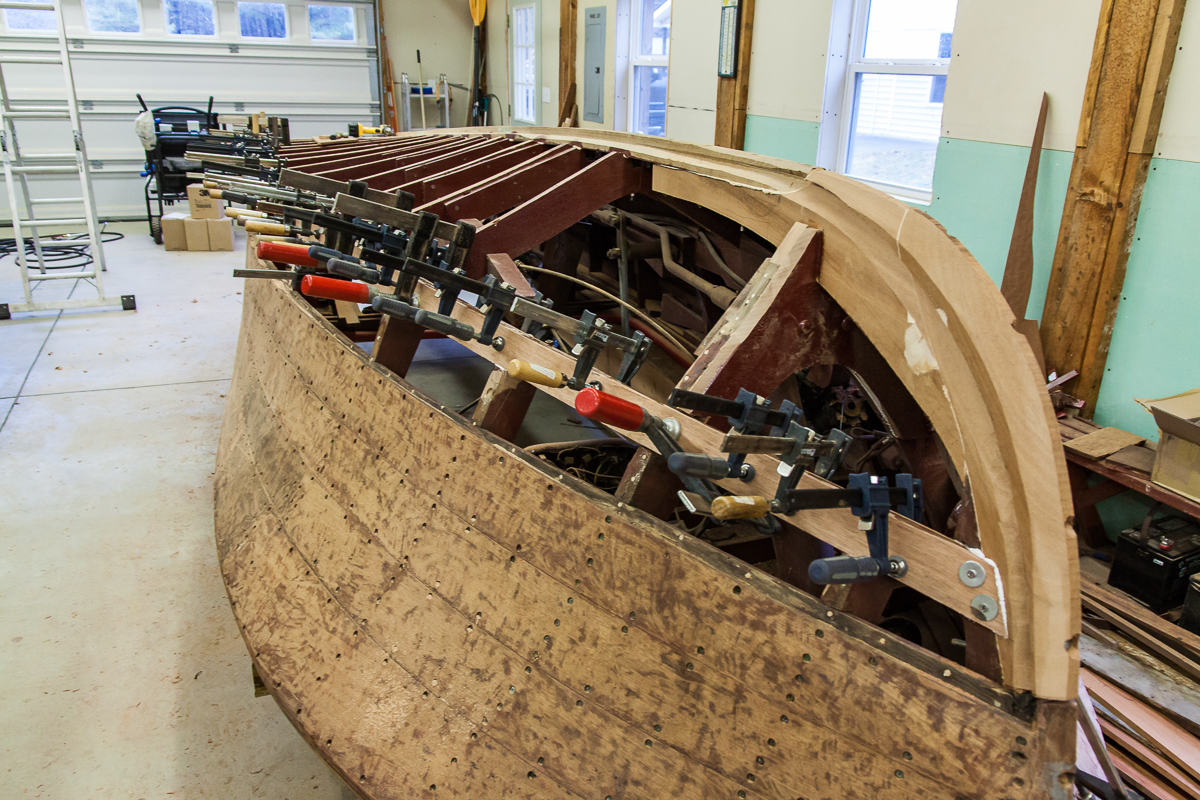
Chines can be difficult to install. Due to the thickness, they don’t bend easily, especially over a short run. We like to laminate the chines using two pieces for the structural part and a cap to mate to the side planking. In this case we used a full length single 1/2″ piece first. It is bedded in 5200 to the frames. The half inch thick material takes the curve very nicely. We then laminated a 5/8″ piece to that with WEST epoxy. The piece can be clamped to the inner 1/2″ piece while the epoxy sets up, then fastened with carriage bolts and large fasteners just as the original single piece was fastened.
As I often say, there are never enough clamps in the shop. In this case, we used 46 clamps to hold the outer piece to the inner piece. Note to self – order more clamps!